Brother LS 2125 Sewing Machine: A Comprehensive Instruction Manual Plan
This manual details the Brother LS 2125’s operation, covering setup, threading, stitch selection, troubleshooting, and maintenance. It includes digital manuals, parts lists, and iPrint&Scan connectivity.
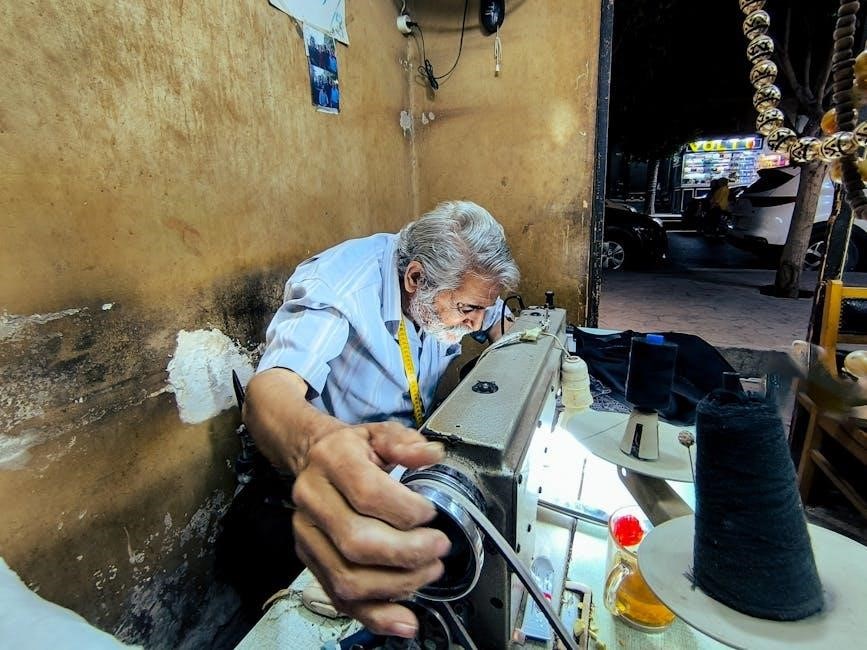
The Brother LS 2125 is a versatile 25-stitch function sewing machine, ideal for both beginners and experienced sewers. This manual provides comprehensive guidance for optimal performance. It covers everything from initial setup and understanding machine components to mastering basic and utility stitches.
Users will learn about available accessories, quick reference guides, and troubleshooting common issues like threading problems or stitching errors. Furthermore, this resource details essential maintenance procedures, ensuring longevity and consistent operation. Access to digital manuals and parts information is also included.
Unboxing and Initial Setup
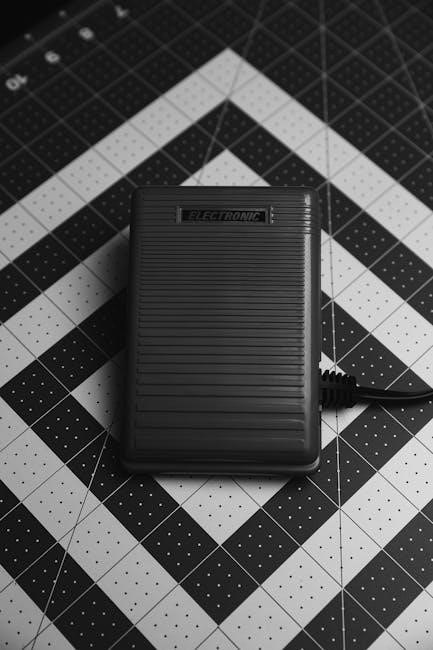
Carefully unpack your Brother LS 2125, verifying all components are present. This includes the machine, power cord, foot controller, accessories, and this instruction manual. Place the machine on a stable, level surface with adequate lighting. Connect the power cord and foot controller, ensuring secure connections.
Before first use, familiarize yourself with the machine’s basic parts. Initial setup may involve connecting to Brother iPrint&Scan for expanded functionality. Refer to the quick reference guide for a visual overview of key components and their locations.
Machine Components Overview
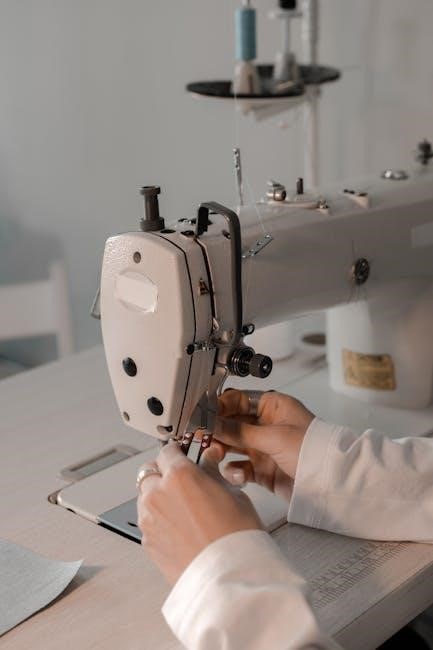
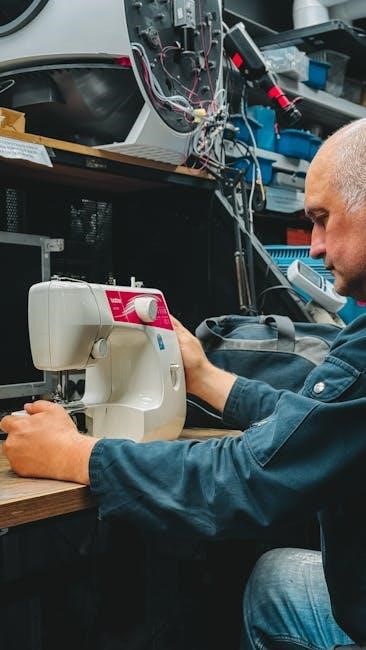
The Brother LS 2125 features a robust construction with key components for efficient sewing. These include the power switch, handwheel, stitch selection dial, stitch length/width controls, presser foot, and bobbin winder. Understanding each part’s function is crucial for operation.
Accessories like extra spool pins and needle sets enhance versatility. The presser foot holder accepts various feet for specialized tasks. Refer to the accessory guide for detailed information on available options and their applications. Proper identification ensures optimal performance.
Identifying Key Parts
Locate the power switch for operation, and the handwheel for manual control. The stitch selection dial allows choosing from 25 built-in stitches. Adjust stitch length and width using dedicated controls. The presser foot secures fabric, while the bobbin winder prepares the lower thread.
Essential parts also include the spool pin, tension dial, and needle clamp. Familiarize yourself with the location of the bobbin case and cover plate. Knowing these components aids in threading and maintenance, ensuring smooth sewing performance.
Powering On and Off
To power on the Brother LS 2125, ensure the machine is plugged into a functioning power outlet. Locate the power switch, typically found on the right side of the machine. Flip the switch to the ‘ON’ position; an indicator light will illuminate. Before starting, verify the foot control is disconnected.
To power off, return the switch to the ‘OFF’ position. Always disconnect the power cord when not in use or during maintenance. This prevents accidental operation and ensures safety.
Basic Threading Guide
Proper threading is crucial for optimal sewing performance on the Brother LS 2125. This guide details both bobbin winding and upper threading procedures. Begin by winding the bobbin, following the numbered diagram in the manual. Ensure the bobbin is wound evenly and not too full.
Next, thread the upper thread, guiding it through each designated point – spool pin, tension discs, take-up lever, and finally, the needle. Refer to the illustrated threading path for clarity.
Bobbin Winding
To wind the bobbin on your Brother LS 2125, place the thread spool on the spool pin. Guide the thread through the pre-tension disc and then onto the bobbin. Position the bobbin onto the bobbin winder spindle, ensuring it clicks into place.
Engage the bobbin winder by pushing the winder stem to the right. Press the foot pedal gently to start winding. Once full, the winder will automatically stop. Trim the thread and remove the bobbin for use.
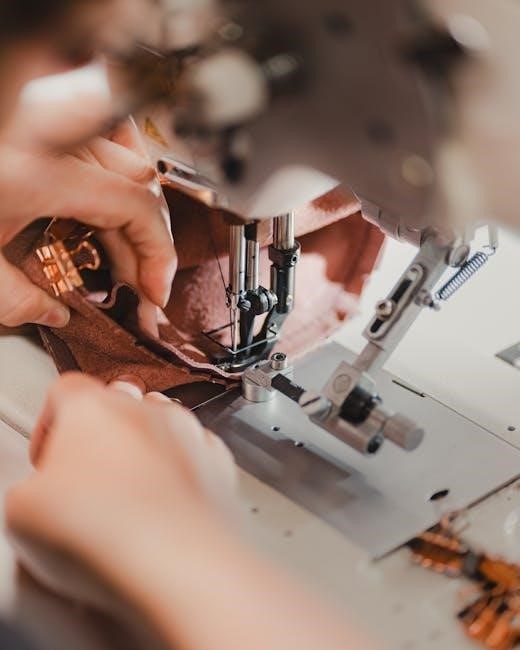
Upper Threading Procedure
Begin by raising the presser foot and the needle to its highest position. Place the spool of thread on the spool pin. Guide the thread through the first thread guide, then down and around the tension discs. Continue threading through the take-up lever, ensuring it’s fully inserted.
Next, thread the needle from front to back. Finally, draw up a sufficient length of thread under the presser foot. Your machine is now correctly threaded for sewing operations.
Stitch Selection and Settings
The Brother LS 2125 offers 25 built-in stitch patterns, selectable via the stitch dial. Understanding these patterns – straight, zigzag, and utility stitches – is crucial. Adjust stitch length using the dedicated dial, influencing the density of stitches; Similarly, control stitch width for zigzag and decorative stitches.
Experiment with settings on scrap fabric to achieve desired results. Refer to the manual’s stitch guide for recommended settings for various fabrics and applications. Proper adjustment ensures optimal sewing quality.
Understanding Stitch Patterns
The Brother LS 2125 boasts 25 distinct stitch patterns, categorized as straight, zigzag, and utility stitches. Straight stitches are ideal for seams, while zigzag stitches offer flexibility for finishing raw edges and creating decorative elements. Utility stitches, detailed in the appendix (LS-2220/2720/1520/2125/2125i), provide specialized functions.
Each pattern’s purpose is outlined in the manual, aiding in selecting the appropriate stitch for your project. Experimentation is encouraged to fully grasp each stitch’s capabilities and achieve desired results.
Adjusting Stitch Length and Width
The LS 2125 allows precise control over stitch length and width, influencing the fabric’s appearance and durability. Dials conveniently located on the machine control these settings. Longer stitch lengths are suitable for heavier fabrics or gathering, while shorter lengths are ideal for delicate materials.
Width adjustments impact zigzag stitches, determining the breadth of the pattern. Refer to the manual’s stitch pattern guide for recommended settings based on fabric type and desired effect. Practice on scrap fabric to perfect your adjustments.
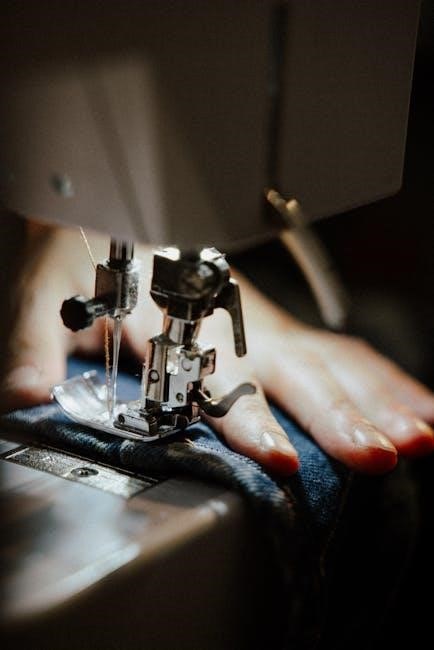
Performing Basic Sewing Operations
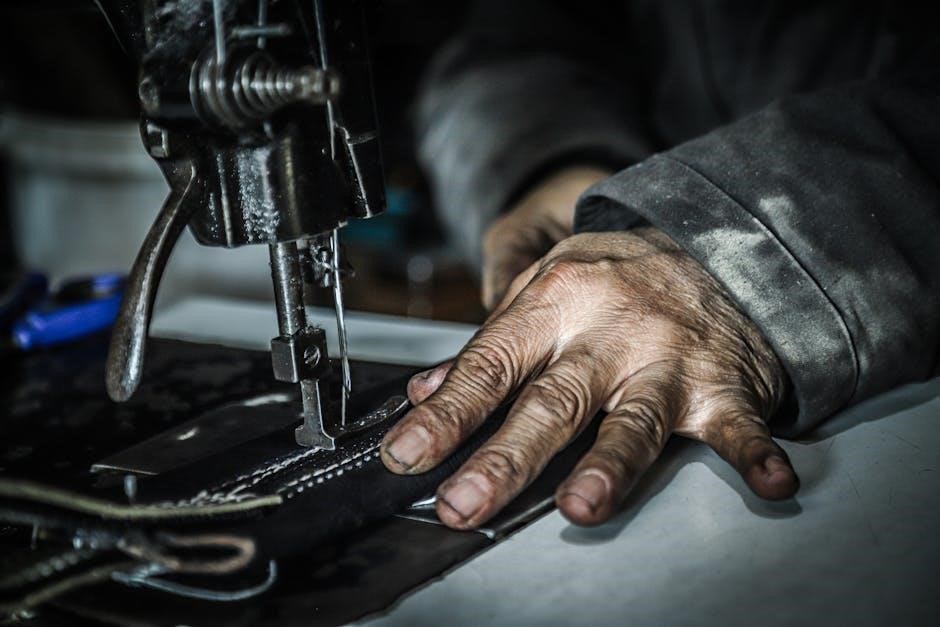
Mastering straight and zigzag stitches is fundamental to using the Brother LS 2125. Begin with a test seam on scrap fabric, ensuring consistent stitch quality. Guide the fabric gently; avoid pulling or pushing. Maintain a steady, moderate speed for optimal results.
Zigzag stitches offer versatility, preventing fabric fraying and creating decorative effects. Adjust stitch width as needed for different applications. Practice turning corners smoothly to achieve professional-looking seams. Refer to the manual for stitch selection guidance.
Straight Stitching
The Brother LS 2125’s straight stitch is ideal for seams, topstitching, and basting. Select the straight stitch pattern and adjust the stitch length according to your fabric weight. A shorter stitch is suitable for lightweight fabrics, while heavier materials require a longer stitch.
Ensure consistent seam allowance by utilizing the markings on the needle plate as a guide. Maintain a steady sewing speed and gently guide the fabric. Practice on scrap fabric to refine your technique before tackling your project.
Zigzag Stitching
The zigzag stitch on the Brother LS 2125 offers versatility for finishing raw edges, creating decorative effects, and sewing stretch fabrics. Adjust both the stitch width and length to achieve the desired result. A narrower width is suitable for edge finishing, preventing fraying, while a wider width creates bolder designs.
Experiment with different settings on scrap fabric to understand the impact of width and length. Use zigzag stitching for attaching elastic or lace, providing flexibility and preventing fabric puckering. Consistent pressure is key for even stitches.
Utilizing Utility Stitches
The Brother LS 2125 features a range of utility stitches beyond straight and zigzag, enhancing project capabilities. These stitches, detailed in the appendix (LS-2220/2720/1520/2125/2125i), include options for buttonholes, blind hems, and various decorative finishes. Refer to the manual for specific stitch numbers and recommended settings.
Proper thread tension and needle selection are crucial when using utility stitches. Test each stitch on scrap fabric before applying it to your project to ensure optimal results and prevent puckering or skipped stitches. Explore the possibilities!
Presser Feet and Their Functions
The Brother LS 2125’s versatility is expanded through interchangeable presser feet. While the standard foot handles everyday sewing, specialized feet unlock advanced techniques. Replacements are available through authorized dealers (Part code: 132730-122 for the screw, 138135-122 for the foot itself).
Explore feet for zippers, buttonholes, and blind hems. The manual details each foot’s purpose and proper installation. Using the correct foot ensures smooth fabric feeding and professional-looking results. Consider accessory feet to broaden your sewing horizons!
Troubleshooting Common Issues
Encountering problems? This section addresses frequent issues with your Brother LS 2125. Threading difficulties are common; ensure correct path and tension. Stitching errors often stem from incorrect needle or thread type. Refer to the manual’s diagrams for visual guidance.
If issues persist, reboot your router if using wireless connectivity. Check for tangled bobbin thread or lint buildup. A clean machine operates more reliably. For complex problems, consult a qualified technician or the official Brother support resources.
Threading Problems
Incorrect threading is a frequent cause of sewing issues. Always re-check the upper and lower threading paths against the diagrams in this manual. Ensure the presser foot is up during threading to release tension discs. Verify the thread is properly seated in the tension mechanism.
Bobbin winding issues can also cause problems. Confirm the bobbin is wound evenly and inserted correctly. Use recommended thread types for optimal performance. If problems continue, clean the threading areas to remove lint or debris.
Stitching Errors
Uneven or skipped stitches often indicate incorrect needle insertion or a dull needle. Replace the needle with a new, appropriate size for your fabric. Ensure the needle is fully inserted and securely tightened. Incorrect thread tension can also cause issues; adjust accordingly.
Fabric bunching or puckering suggests tension is too tight. Conversely, loose stitches indicate tension is too loose. Experiment with tension settings until achieving balanced stitches. Regularly clean the bobbin area to prevent lint buildup affecting stitch quality.
Maintenance and Cleaning
Regular maintenance ensures optimal performance of your Brother LS 2125. Always power off and unplug the machine before cleaning. Frequently remove lint from the bobbin area using a brush or vacuum attachment – lint buildup impacts stitch quality. Wipe down exterior surfaces with a soft, dry cloth.
Periodically lubricate key components, following the lubrication guide, to maintain smooth operation. Avoid using excessive oil. Inspect the needle and replace if bent or damaged. Proper care extends the machine’s lifespan and prevents malfunctions.
Cleaning the Bobbin Area
Maintaining a clean bobbin area is crucial for consistent stitch quality on your Brother LS 2125. Begin by removing the bobbin case. Use a small brush, or the brush attachment of your vacuum cleaner, to gently remove lint and thread fragments from the bobbin case and the surrounding cavity.
Inspect for any accumulated debris and carefully clear it away. Avoid using compressed air, as it can push lint further into the mechanism. Reinsert the bobbin case, ensuring it clicks securely into place. Regular cleaning prevents jamming and ensures smooth operation.

Lubrication Guide
Proper lubrication is essential for the longevity of your Brother LS 2125 sewing machine. However, modern machines require minimal oiling. Avoid over-lubrication, as excess oil attracts dust and can cause problems. Only use sewing machine oil specifically designed for this purpose.
Apply a small drop of oil to the bobbin race area and the needle bar, following the manufacturer’s recommendations. Wipe away any excess oil with a clean, lint-free cloth. Regular, careful lubrication ensures smooth operation and prevents wear and tear on internal components.
Accessory Guide
Your Brother LS 2125 comes with several accessories to enhance your sewing experience. These include various presser feet for specialized tasks, such as a zigzag foot, buttonhole foot, and blind hem foot. A set of needles, bobbins, and spool pins are also provided.
Additional accessories, like extra spool pins (part code 130920021) and replacement presser feet (part number 138135-122), are available through authorized dealers. Refer to the parts list for detailed information and ordering options to expand your machine’s capabilities.
Quick Reference Guide for Common Tasks
For swift assistance, a quick reference guide is included with your Brother LS 2125. This handy resource provides step-by-step instructions for frequently performed tasks like threading the machine, winding the bobbin, and selecting basic stitches.
It also offers troubleshooting tips for common issues, ensuring you can quickly resolve minor problems without consulting the full instruction manual. Access the digital quick reference guide (XA8545221) for convenient on-the-go support during your sewing projects.
Safety Precautions
Always disconnect the power supply before cleaning or changing the needle on your Brother LS 2125. Never operate the machine with damaged parts, and keep fingers away from moving components during operation. Ensure the machine is stable and on a level surface before use.
Do not attempt to repair the machine yourself; contact an authorized dealer for service. Keep the machine out of reach of children. Always use the correct needle and thread for your fabric type to prevent damage or injury.
Available Parts and Replacements
Genuine Brother replacement parts ensure optimal performance for your LS 2125. The presser foot holder screw (part code 132730-122) and replacement presser foot (part number 138135-122) are available through authorized dealers. Needle sets (129583121) are also readily accessible.
Extra spool pins (130920021) can be purchased separately. Contact your local Brother dealer or visit online parts retailers for a comprehensive list of available components. Utilizing genuine parts maintains warranty validity and machine longevity.
Connecting to Brother iPrint&Scan (if applicable)
Brother iPrint&Scan extends functionality to your LS 2125 via PC or Mac. Download and install the application to access scanning and workflow features. The app identifies connected Brother machines, allowing printing, scanning, copying, and settings management from your mobile device.
If setup proves difficult, rebooting your router can resolve connectivity issues. Ensure your machine appears in the app’s device list for seamless integration and enhanced control. Visit Brother’s support website for detailed installation guides.